Plaster ceilings have long been a symbol of elegance and sophistication in home design. Unfortunately, over time, they can suffer from damage due to various factors such as age, moisture, or structural issues. Whether you’re dealing with cracks, peeling, or complete collapse, understanding how to approach damaged plaster ceiling repair and restoration is essential for maintaining your home’s aesthetic and structural integrity.
Understanding Plaster Ceiling Damage
Before diving into the repair process, it’s important to identify the type and extent of the damage. Common issues include:
- Cracks: Often a result of settling or temperature changes, cracks can appear in various sizes and directions.
- Peeling or Flaking: This usually indicates moisture problems or poor initial application.
- Sagging or Bulging: This may signify underlying structural issues or deterioration of the plaster bond.
Assessment
Start by closely inspecting your plaster ceiling. Look for visible cracks, water stains, or areas that feel soft to the touch. If you find significant damage or sagging, it might be advisable to consult a professional for an in-depth assessment. In many cases, damaged plaster ceiling repair can be a DIY project, but severe issues may require expert intervention.
Tools and Materials Needed
For effective damaged plaster ceiling repair and restoration, gather the following tools and materials:
- Safety Gear: Gloves, goggles, and a mask to protect against dust and debris.
- Plaster Repair Kits: These often include plaster patches, joint compound, and bonding agents.
- Putty Knife: Essential for applying repair materials smoothly.
- Sandpaper: For smoothing out the repaired areas.
- Paint and Primer: Necessary for finishing touches after repairs are complete.
Step-by-Step Repair Process
1. Preparation
Before starting any repair work, ensure the area is well-ventilated. Remove any furniture or items from the space below to avoid damage during the process. Lay down drop cloths to catch debris and protect your flooring.
2. Cleaning the Area
Begin by cleaning the damaged area. Remove any loose plaster, dust, or debris using a putty knife or scraper. If there are signs of mold or mildew, treat these issues with a suitable cleaning solution before proceeding.
3. Applying a Bonding Agent
For areas where the plaster has pulled away from the lath or substrate, apply a bonding agent. This will help ensure a secure adhesion for your repair materials. Follow the manufacturer’s instructions for the best results.
4. Filling Cracks and Holes
Using a plaster repair compound, fill in cracks and holes with a putty knife. For larger holes, you may need to use a mesh patch to reinforce the repair. Press the mesh patch into the compound and smooth over it with more plaster. Allow this to dry according to the product instructions.
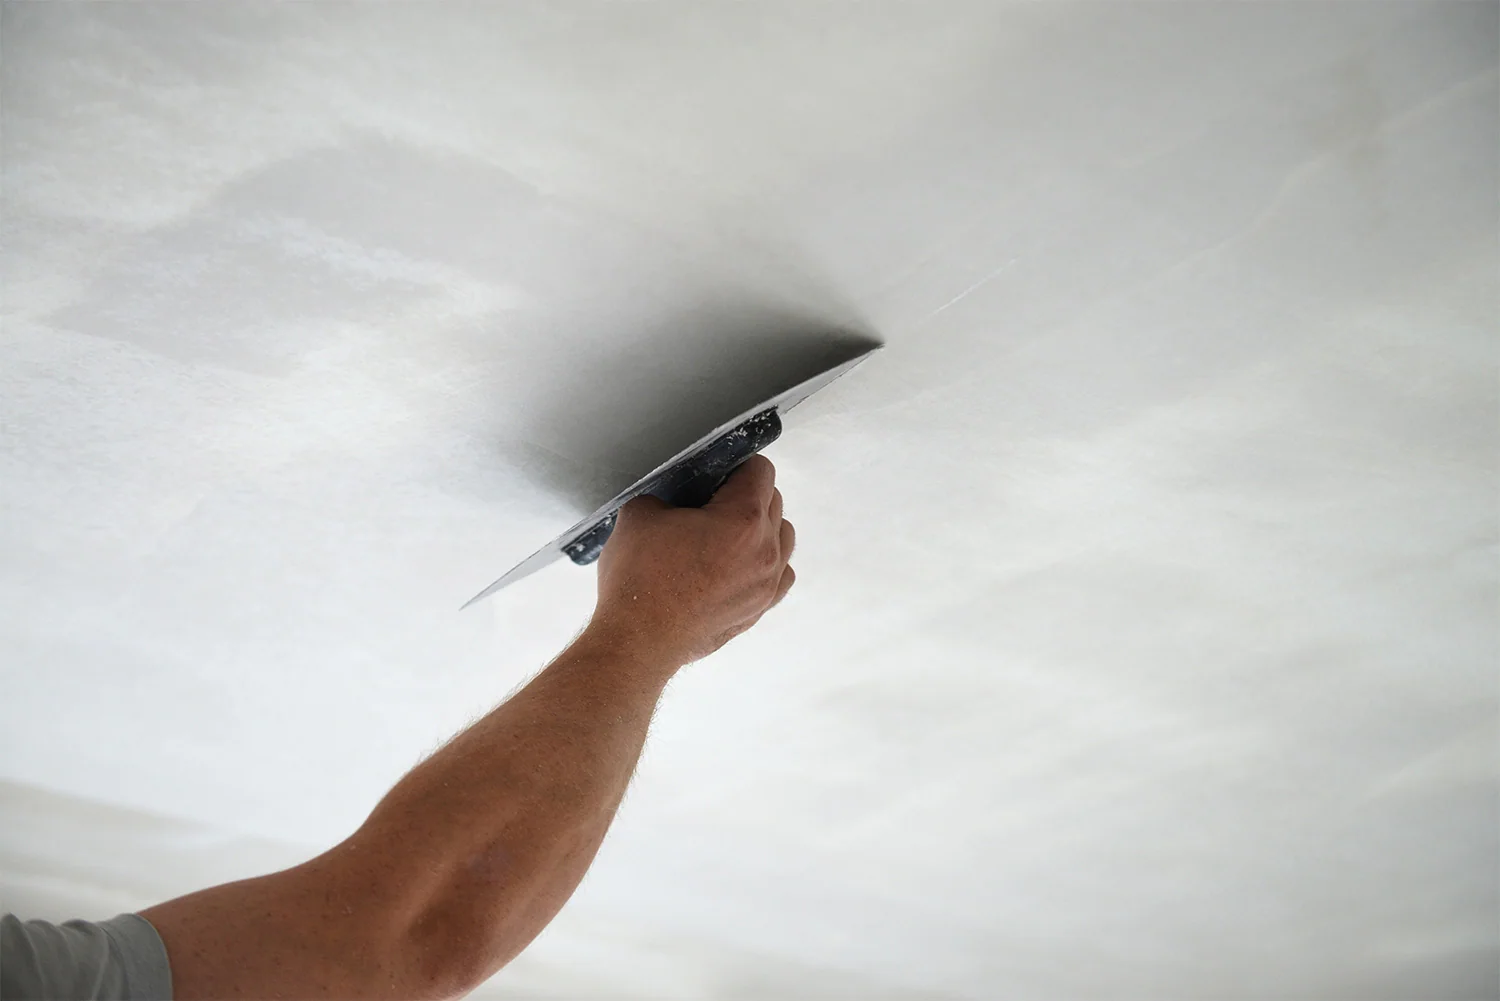
5. Smoothing the Surface
Once the repairs are dry, use sandpaper to smooth out the surface. This step is crucial for achieving a seamless finish that blends with the existing plaster ceiling. Be gentle to avoid damaging the surrounding area.
6. Priming and Painting
After sanding, wipe the area clean and apply a primer to the repaired section. This will help the paint adhere better and ensure uniform color. Once the primer is dry, paint over the area with a color that matches the rest of your ceiling.
Restoration Techniques for Larger Damages
In cases where the damage is extensive, a more thorough restoration may be necessary. This can involve:
- Replastering: If large sections are damaged, you may need to remove the old plaster and apply new layers. This is a more labor-intensive process and might require professional help.
- Installing a New Ceiling: For ceilings that are structurally unsound, consider installing a new ceiling that mimics the original design. This can provide a fresh start while preserving the home’s elegance.
Maintaining Your Restored Ceiling
After successfully completing damaged plaster ceiling repair and restoration, take proactive steps to maintain the integrity of your ceiling:
- Monitor for Moisture: Keep an eye out for leaks or humidity issues that could lead to future damage.
- Regular Inspections: Periodically check for new cracks or signs of wear and address them early to prevent further issues.
- Control Temperature and Humidity: Use HVAC systems effectively to maintain stable conditions within your home.
Conclusion
Reviving the elegance of a damaged plaster ceiling is not just about aesthetic restoration; it’s also about preserving the structural integrity and history of your home. By following the steps outlined above, you can tackle damaged plaster ceiling repair with confidence, ensuring that your ceiling remains a beautiful focal point for years to come. Whether it’s a minor crack or extensive damage, understanding the repair process is key to achieving a successful restoration.